Shutter speed, aperture size and depth of field settings are…
Guide To Camera Etiquette Part 2: Group Photos
Group photos can be a lot of fun, but they can look messy, appear contrived, cause offense and, generally, fail miserably if not done properly.
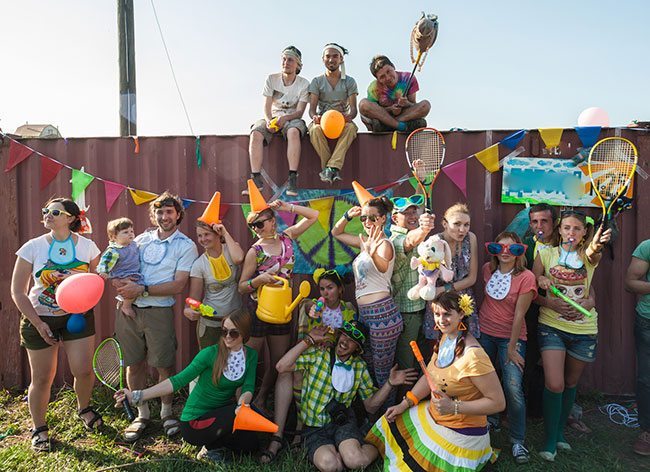
WHAT A MESS: As fun as this photo is, many of the subjects are looking at a different camera – a big no.
I’ve seen many a professional photographer fumble at the hands of a group photo, particularly the larger ones of 20 or more that require giving clear direction and using a loud voice.
I once worked with a newspaper photographer who, when assigned to take a group photo, would say “I will not photograph more than three people!” No matter how much the organization being featured in the story tried to convince him otherwise, he would stay true to his rule.
Group photos don’t really say a whole lot. With all the fuss that’s going on, it’s often hard to personalize your subjects, capture an emotion and get the camera to care. That’s why you rarely see group photos in the newspaper.
Developing group photos suitable for large canvas prints is a whole other story. Larger wall prints allow more detail to be seen. They also capture a sense of celebration and a moment in time where everyone was sharing the same experience – whether that’s a wedding, a sports game or a staff conference.
Here’s some etiquette for group photos that will enable you to get a great shot that leaves everyone happy at the end of the process.
1. Consider Your Location
At least a week prior to the shoot taking place, be sure to scout for the right location. If your best friend has tapped you on the shoulder to take her wedding pictures because you’re pretty good with a camera, keep in mind group photos are a whole different ball game to portrait shots.
Ultimately it’s best to shoot group photos in the shade. Avoid taking the shot under a tree as the branches may cast shadows on people’s faces. Assess the time of day so you know which way to shoot to avoid sun in people’s eyes. A group photo full of squinting eyes can deliver a poor result.
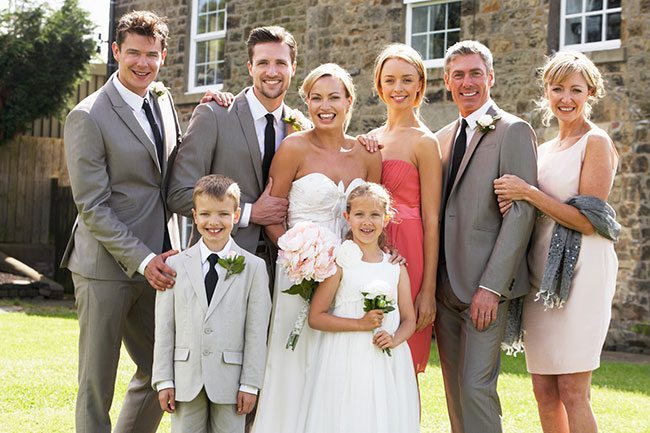
SUNNY DAY: This shot would’ve been perfect had everyone not been squinting.
If you’re shooting indoors, be sure there’s enough light filling the room as it’s hard to light up 50 people using two photo umbrellas.
For large group photos, shoot from above if you can. It helps get everyone’s happy faces in the picture, with minimal fuss and direction. If you choose to carry out a stunt (e.g. jumping or throwing hands in the air), make sure no-one’s face is being covered up.
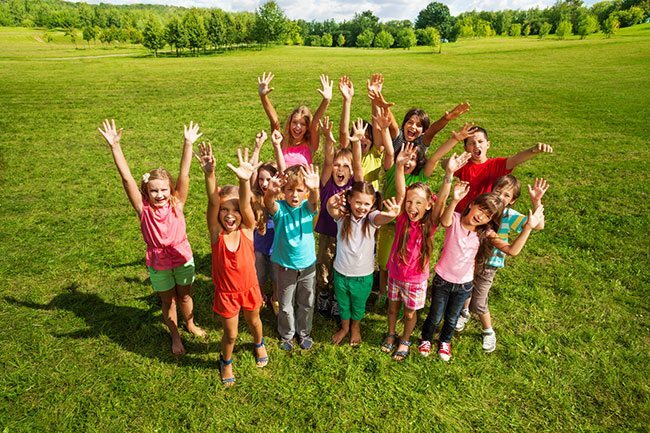
SHOOT FROM ABOVE: While it’s easier to shoot from above, if you’re pulling off a stunt, make sure people’s hands aren’t covering other people’s faces.
If it’s a smaller group photo of 3-10 people, take time to consider the right background. Whether it’s indoors or outdoors, find a neutral, but pleasant space. Move away tables and chairs and anything that’s distracting from or blocking the shot.
2. Arrange The Right Time
The best camera etiquette is to take the group photo at the beginning of the event when everyone is looking well, but after they’ve started enjoying themselves.
If it’s a wedding that would mean not directly after the ceremony, but perhaps after they’ve enjoyed a couple of drinks. But certainly not at the end of the night after the hair is all messed up from dancing and all the lipstick has come off.
If it’s at a sporting match, the best time would be prior to the game (and the sweat) starting, but after the coach has given them their pep talk.
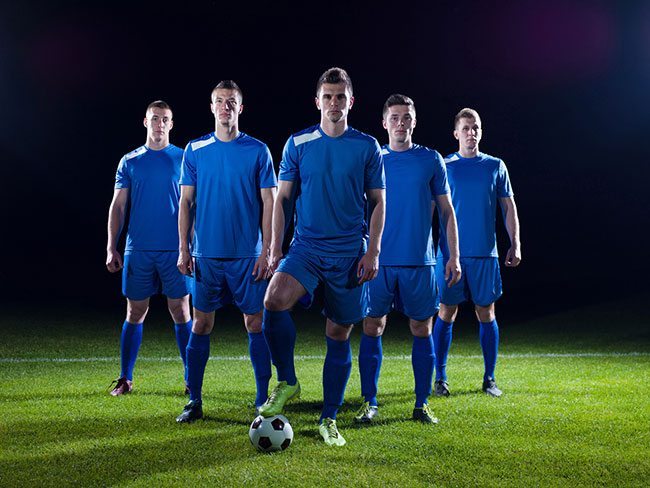
GET IN EARLY: If you want a smart result like this, be sure to take the shot before the boys get too sweaty.
Be sure to announce the time of the photo in advance, giving people a chance to use the restroom – to look their finest, be comfortable and not miss out!
3. Take Time To Style
Vital to etiquette is making sure the most important people are front and center of the shot. Of course, short people should also be moved to the front, but if Grandpa John is 6f 4 and it’s his wife’s 80th birthday, he still deserves a spot up the front.

COMFORTABLE: While a nice background would help tell a better story, everyone seems happy and comfortable in this photo.
It’s always a good idea to group people near their friends and fellow family members. This not only makes sense from a styling perspective, but they will feel more comfortable smiling, hugging and having a good time if they’re close to loved ones.
For the smaller group shots, they need to be tight. If they’re too sparse, it can look awkward. It might appear as though they don’t love each other at all. And of course we know that’s not true!
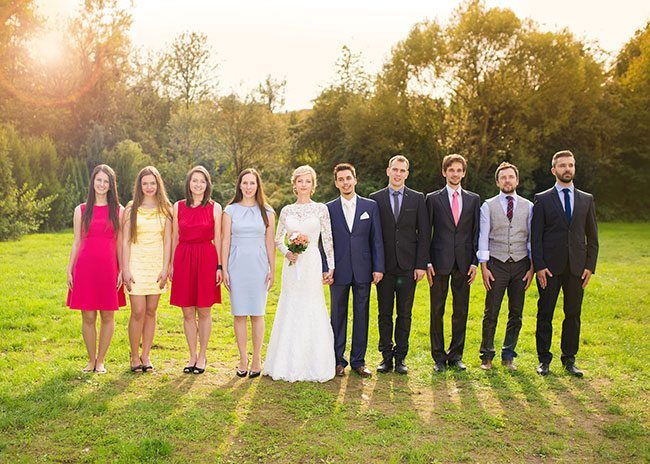
AWKWARD: No-one in this photo looks like they love each other, not a good result for a wedding!
4. Take Control
It’s good camera etiquette to let everyone know this very basic premise:
“If you can’t see the camera, I can’t see you.”
Use a loud voice and smile. You must be assertive and direct people to where they need to be. It’s not about being bossy and demanding, but it’s vital – for everyone concerned – that you take charge.
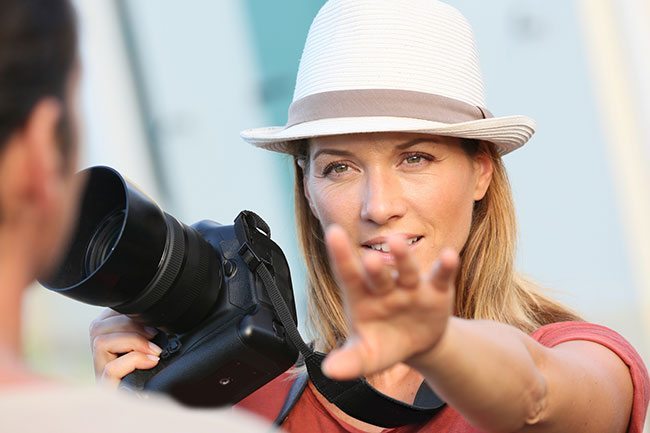
TAKE CHARGE: As the trusted photographer, use a loud voice and smile.
Use a loud voice and smile. And remember, while you may be the director, they’re not actors. There will be short people who will hide at the back of the shot simply because they’re too shy to come to the front. Be sure to physically go over and bring them to the front. It’s not that they don’t want to be at the front – they may very well be enthusiastic about being in the picture – they may simply not want to make a fuss.
Consider finding an assistant to help – someone who knows that even though Aunty May is pretending to hide at the back and not look interested, she’s actually interested in being up the front.
If you’re asking people to get up on strange things – like rocks or fences or chairs – give them time to get themselves up there and help them up if they need it.
Ask everyone to raise their chins. Just like in portraits, avoiding double chins means the photo won’t be relegated to the bottom of the photo pile that says ‘Complete waste of time’.
On that note, do not have multiple people shooting photos as the same time as you as people won’t know where to look. Group photos generally appear as large canvas prints – eye direction and eye contact is vital. Once you’ve mastered the art of group shots, it’s time to get the printed on canvas. We can look after your canvas, acrylic glass and aluminium prints, so visit us online anytime to place an order.

